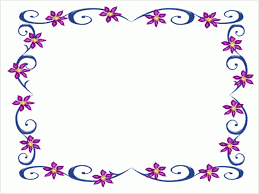
Handmade border design for project as royal choice
A handmade border design for a project means to make a fancy border or frame around the edges of your project using craft materials like paper, fabric, ribbon, or other decorations.
To create a simple border, you can cut strips of colored paper, fold them in half, and glue them around the edges of your project to make a colorful frame.
If you want a more complicated border, you can weave or braid multiple strands of ribbon or fabric, create loops or knots along the edge, or use different materials to make a layered or textured effect.
The purpose of a handmade border design is to make your project look nicer and more interesting. It can also help to bring all the different parts of your project together.
With some creativity and a few basic craft supplies, you can easily make a handmade border design that is unique and attractive.
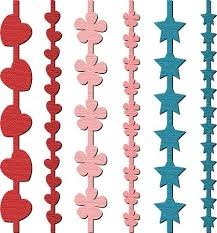
Here are ten different border designs you can use for your project:
Scalloped Edge: Cut out a series of semi-circles along the edge of your paper or cardstock to create a scalloped border.
Zigzag: Cut the edge of your paper or cardstock in a zigzag pattern to create a fun and playful border.
Lace: Glue a strip of lace or doily along the edge of your paper or cardstock to create a delicate and elegant border.
Ripped Edge: Rip the edge of your paper or cardstock to create a rough and textured border.
Woven: Weave thin strips of paper or ribbon together to create a colorful and intricate border.
Polka Dots: Use a hole punch to create a series of polka dots along the edge of your paper or cardstock.
Embossed: Use an embossing tool to create a raised design along the edge of your paper or cardstock.
Washi Tape: Apply a strip of colorful washi tape along the edge of your paper or cardstock to create a bright and playful border.
Fringe: Cut thin strips along the edge of your paper or cardstock to create a fringe border.
Geometric: Use a stencil or ruler to create a series of geometric shapes along the edge of your paper or cardstock, such as triangles or squares, to create a modern and abstract border.
Materials needed:
Colored paper (two different colors)
Scissors
Glue
Instructions:
Choose two contrasting colors of paper that you want to use for your border.
Cut strips of each color paper that are the same width (about 1 inch) and long enough to go around the edges of your project.
Fold each strip in half lengthwise and crease it gently.
Unfold the strips and lay them flat on your work surface, side by side, with the creases facing each other.
Fold the left strip up and over the right strip at the crease, creating a loop that extends beyond the right strip.
Slip the end of the left strip through the loop you just made and pull it snugly, creating a knot.
Repeat this process, alternating which strip you fold over and which strip you slip through the loop, until you have a chain of knots that reaches the desired length.
Apply glue to the back of the border and carefully place it on your project, making sure to align the knots evenly around the edges.